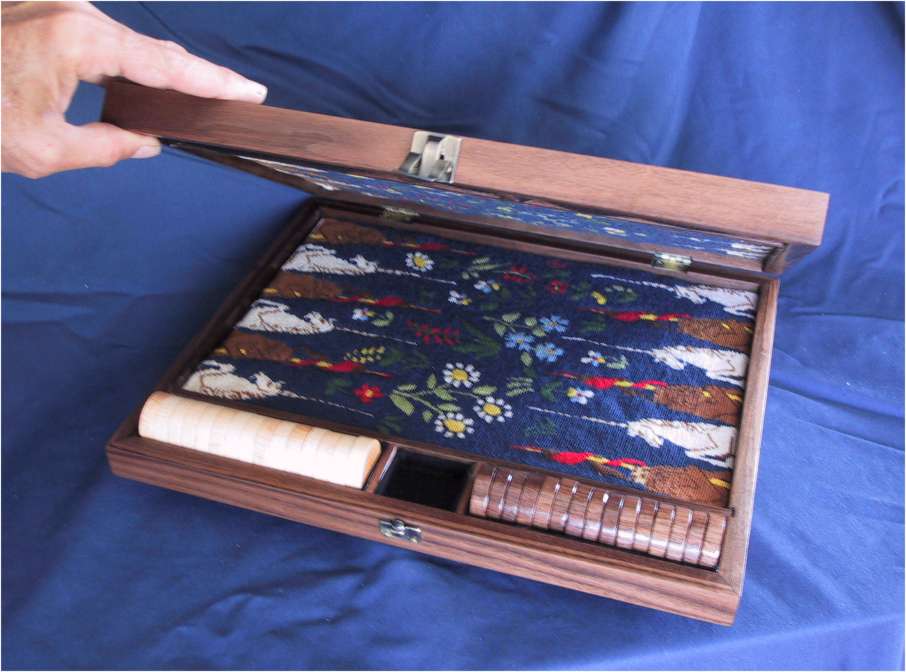
Lion and Unicorn Backgammon BoxWalnut with Maple, Cherry, Mahogany, and Wenge inlay An earlier box I had made for Don had developed some problems and he asked me if I could repair it. When he brought it over, he brought over this needlepoint backgammon playing surface that he had created some 20 years before, but had never mounted, and asked me if I'd consider making a box to go with his hard-fought needlepoint work. I said, "sure, maybe :-)", and he left it with me, expecting I think, maybe another 20 years to go by before getting any results. Well, I repaired his old box, and thought, hmmm ... that wasn't hard, might as well make Ginny's box, and then when I finished that a few days later, I said to myself, that was fun, I might as well do Don's too and surprise him. So I thought I'd take 2 or 3 days and make him a box. I decided on Walnut because it's got such a classic look, and I wanted this box to be really nice. Here it is: 
The top and bottom are made of 5" wide, 1/4" thick planks of Walnut glued together, edge to edge. After I had cut the basic pieces for the box the first day and laid up the three 5" planks for the top/bottom, I said to myself, hmmm ... why not make it a little nicer and do some inlay. It'll only take a little while :-) So I went up on the Net and researched Lions and Unicorns (the theme of his needlepoint work), and came up with a painting which I traced (in Paintshop) to get the simplified inlay pattern. The next day I printed out 6 copies of the diagram and cut the papers up and selected the pieces of 1/8" wood for the inlay. Then I glued the cut-up paper to the selected pieces of 1/8" wood and cut out all the shapes on the scroll saw. It takes about 1 day to cut all the little pieces. I try not to rush and take breaks every hour or so. I also fine-cut the top and bottom pieces from the laid up top/bottom. 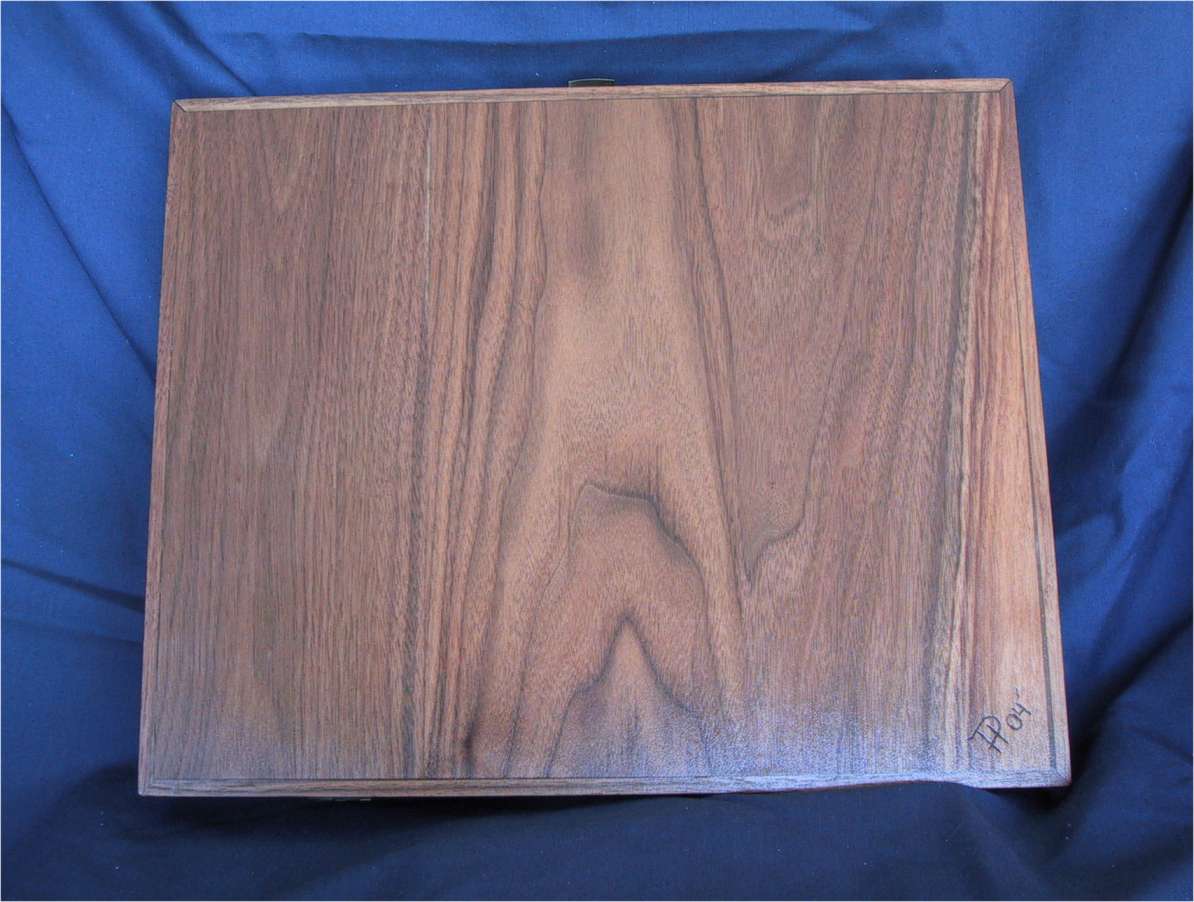
Then it's what I call "setting in" time, which gets really slow, but is not as painful as the routing. For each piece, you lay it on top of the already routed baseboard and see how it looks. It rarely fits the first time. So you use the dremel, sandpaper, or an exacto knife to modify the piece or the routed area until it does fit (trying to stay faithful to the original pattern as much as possible and removing as little wood as possible). Then you dry fit that piece and move to the next one. The problem with this stage is that when you have to route some more out to make room for a piece, you usually have to disassemble all of the pieces, route a little, then put most if not all of the pieces back in to see if the change helped. But after a while (say, around 6 hours later) all of the pieces fit. Then you dry-fit it together and lightly sand all the pieces so that they look nice, rounding off saw marks, deburring edges and so on, tho you must be careful to not round the edges of the pieces. No sanding is done on the baseboard before gluing. Last thing, in the wee hours of day 3, glue the inlay using one mix of 30 minute epoxy (and some fine sawdust thrown in for color). I use a lot of glue and try to fill in all of the seams and use my fingers for the initial pressure. Epoxy gets everywhere, but it's ok. Just get all the pieces glued in and put a piece of paper and a weight on top. It's a mess, but the magic is, before the epoxy on your hands sets up, run to the closet and get the rubbing alcohol, douse a paper towel and wash your hands thouroughly with alchohol, using a clean paper towel to dry them. Voila! No epoxy covered hands. Took me many years to find out that you could use alchohol to clean up wet epoxy. But anyways ... 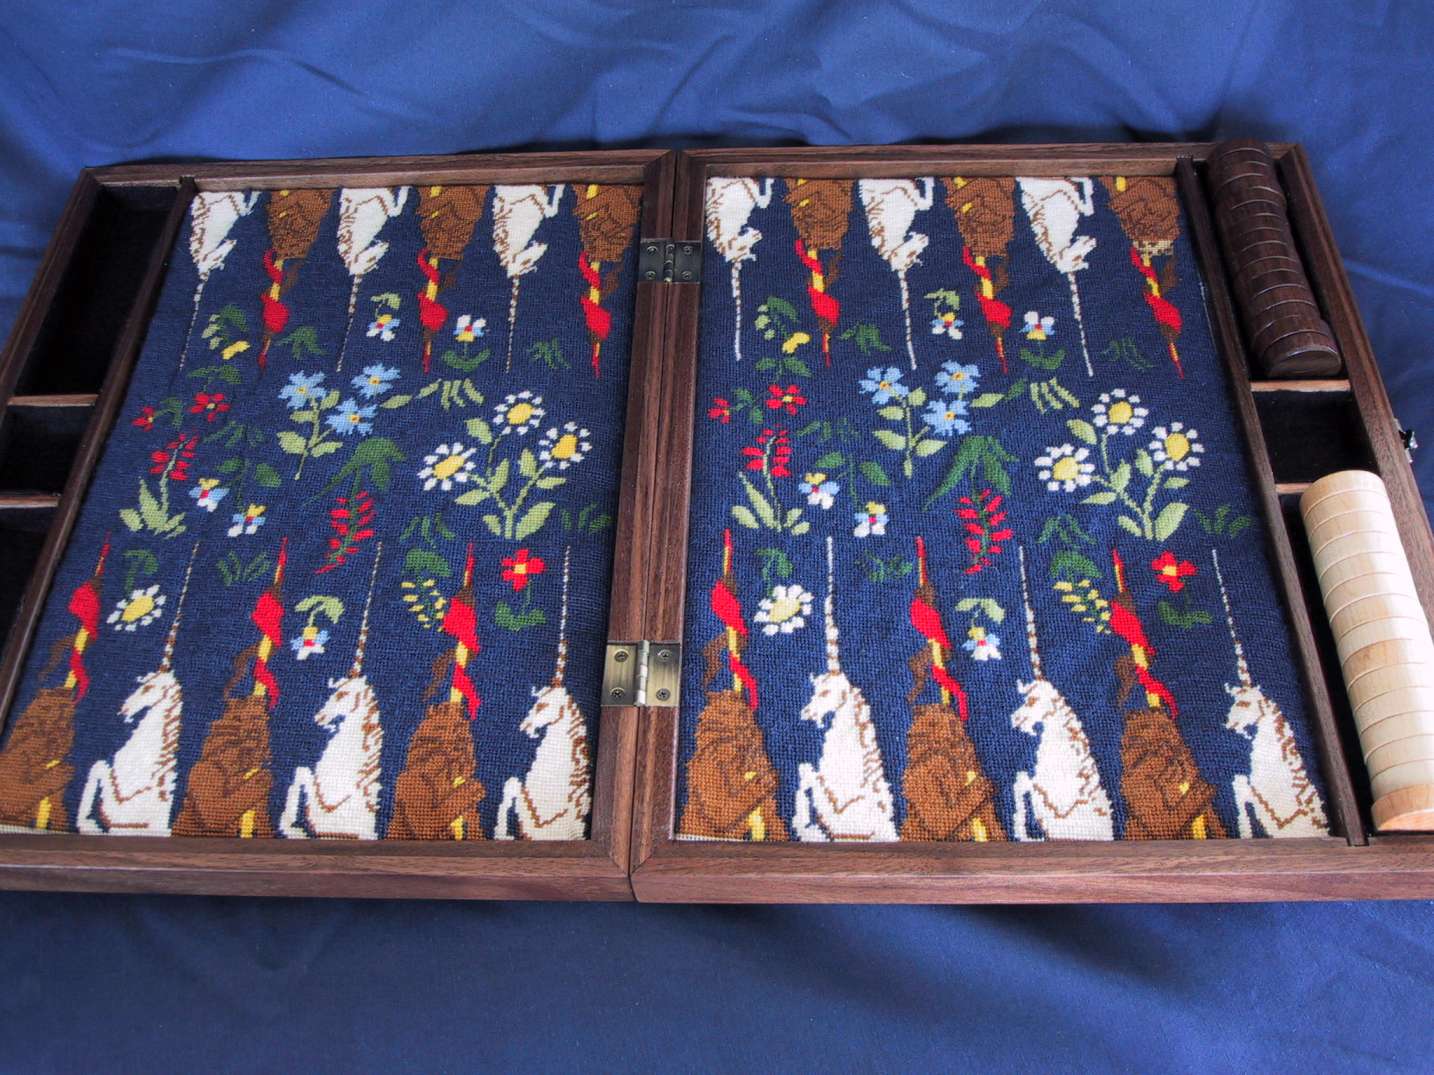
The next morning (day 4), you can excitedly go downstairs and hook up the BELT SANDER! I made a little jig to hold the top while I ran the sander on it. Using 60 grit, I take off the paper and enough epoxy to start seeing the pattern. Then I switch to 120 grit and gingerly go down until the pattern mostly shows and there are only a few epoxy smears left. I find the handheld belt sander works better than the bench belt sander for this ... I have more "feel" as I am taking the wood down. When the pattern is almost exposed I switch to the bench sander with 180 for a finer finish. Then I hand sand the piece with 220 and 400 grit till it looks darned near perfect. I also sand all inside surfaces (before gluing) upto 220 grit, sometimes 400. Then in the afternoon I glue up the whole box at one time with 30 minute epoxy. Once again, I like epoxy because, mixed with sawdust, it can also act as a seam sealer for these multi-piece projects. Later that night, it comes out of the clamps for the exterior finish sanding. I do a rough sanding then mix up a little 5 minute with sawdust as filler in any bubbles around the inlay or missed edges and do a rough sanding again until I like it. When sanding the front and sides, I try to take the minimum off the corners (with mitered joints) to keep as much of the original "seam" as possible. A quick pass on the bench sander, and then sand the whole box again with 220/400 (make sure there are no sharp edges!) and I'm ready for bed! 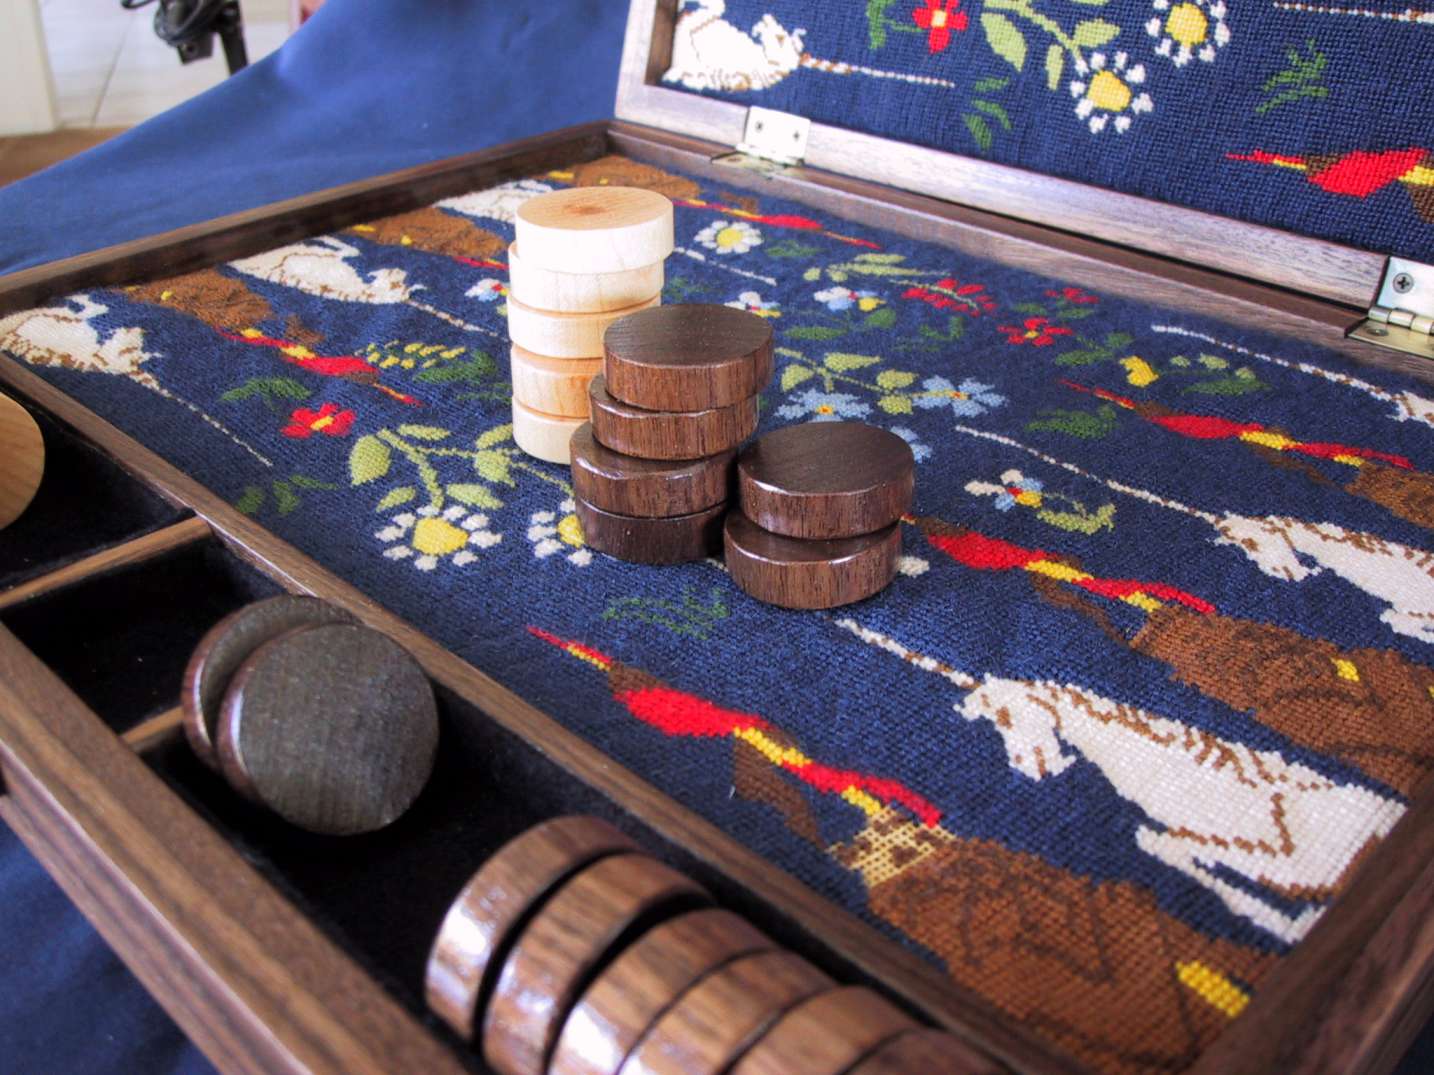
On day 5 I cut the box into two pieces (top and bottom), chiselled out the hinge dados, drilled the hinge holes, and sanded the interior and interior edges of the box. Then I oiled it and rub it every 5-10-20 minutes until no more oil spots appear (about 2 hours later), then let it dry for a good long time. Then I applied three coats of laquer, allowing 1 hour each for drying and using the finishing cloth between coats and lightly on the final coat. The very last thing I did on this box was to mount the hinges, then drill and mount the latch. After it was done, I cut some pieces of 1/8 birch plywood slightly smaller than the board areas for mounting the needlepoint. I didn't want to cut Don's fabric, so I temporarily installed it using duct tape to hold the fabric to the back of the plywood insert. Oh yeah, I forgot to mention the playing pieces. I luckily found walnut and maple 1.25" dowling, and using a home-made jig, I cut like-sized slices of the dowling, then sanded each face on the belt sander and all the edges by hand. Then oiled only the walnut pieces, then gave them 2 coats of laquer, rubbing each piece after each coat. So this box took a little longer than I originally planned, but I was very pleased at Don's reception. He was misty eyed and said that he'd been waiting 20 years for this, and that it was perfect and he would cherish it forever. And once again, I was pleased to be able to make such a gift, and happier even yet to give it away. |