A Gift for GinnyThuya Burl I was thinking about three things. Ginny had hinted that she wouldn't mind having a box and I hadn't made her one, I'd just gotten back from a week in Yosemite and was planning a trip to Alaska, and I had this piece of Thuya Burl that I had been waiting for the right opportunity to cut into. So, I wrapped all those ideas up in this little project. 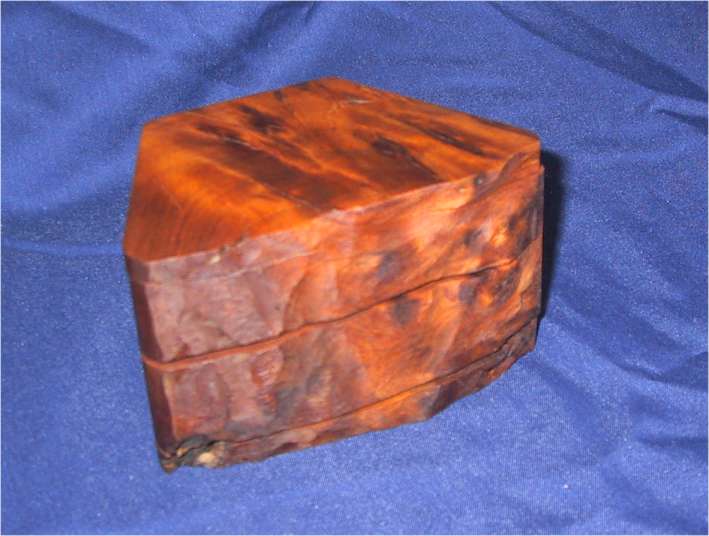
The entire box is made from a single piece of wood. Below you can see the box and the wood it was cut from. It has a nice rough face that reminds me of the rugged beauty of the mountains I had been visiting. I knew that for Ginny I wanted to make something with more than one compartment. Some kind of intricacy. I started by cutting out the basic shape, then lopped the top and bottom off the "box". 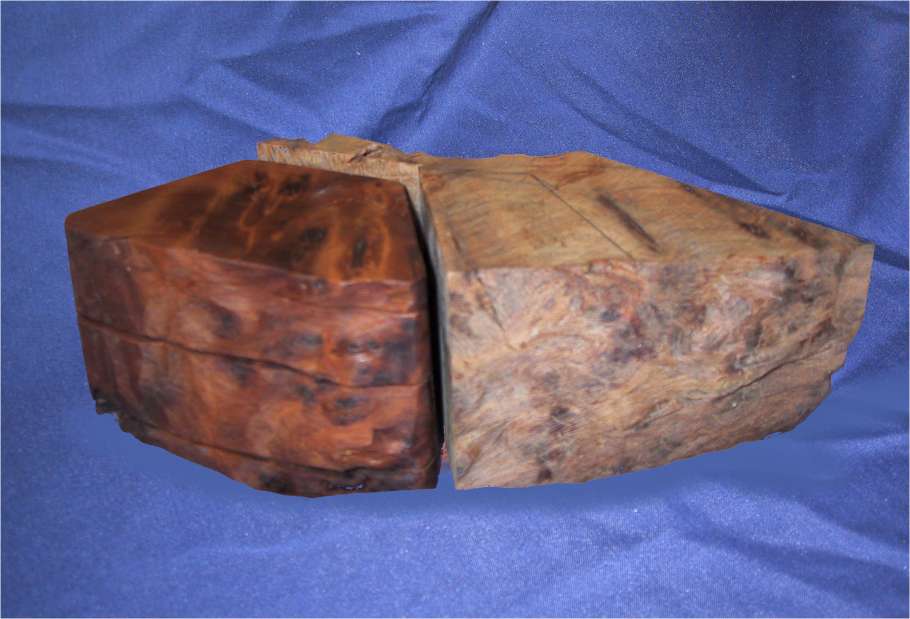
I then used the band saw to cut the middle interior portion out of the box as one solid piece (the cut goes thru the side of the box). From that interior portion I cut about an inch off the top (to become empty space, for the top compartment), then another 1/4" slice (for the "bottom" of the top compartment). The swinging compartment was made from the remaining piece by routing out the compartment portion. The trickiest cut on the box was to remove just the portion of the outer box that would swing outward (the "face" of the swinging compartment). I tried something with the Scroll saw that didn't work, which actually cracked the shell of the box, so I ended up cutting the face out of two separate (now broken) parts of the outer box and gluing them back together. It got a little messy at this point, and I was afraid it wasn't going to come out well, but I'm glad I didn't give up. 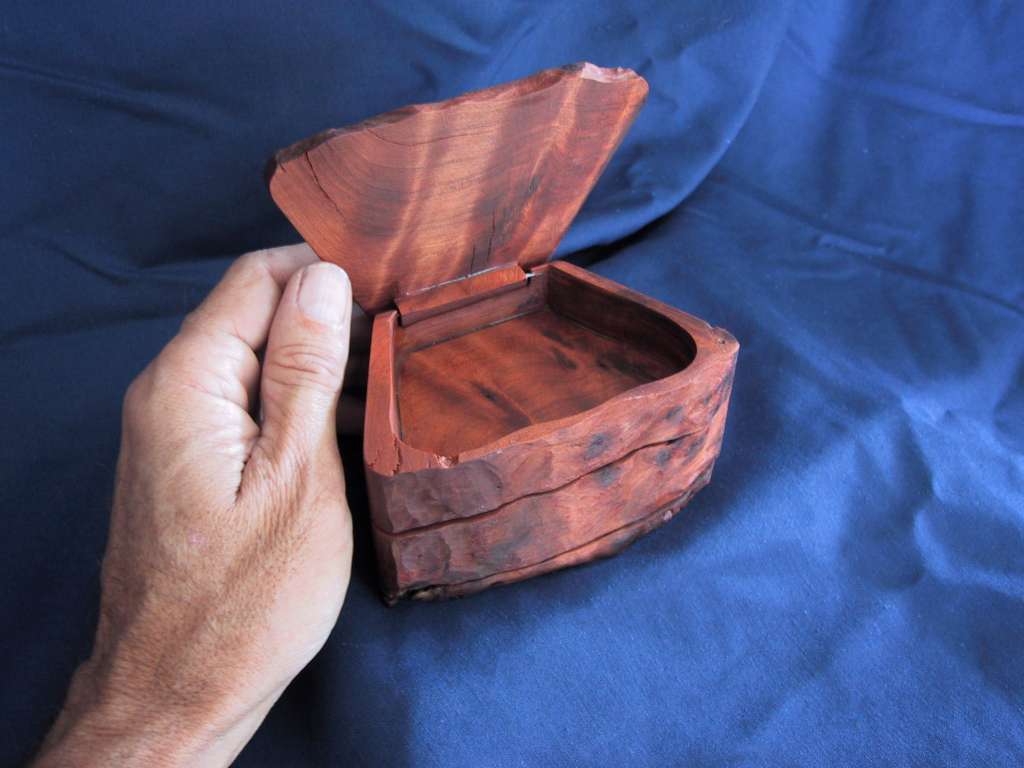
After that there was nothing to do but glue all the pieces together and see what happened. Well, actually one has to sand all the insides and I did a bit of forming as I was gluing each piece. I use 5 minute epoxy so that I don't have to wait forever between stages. I start with the outer box, gluing up the seam created by cutting the main innards out. Then I attached the bottom to the box, along with some pieces to support the "bottom" of the top compartment. Then I put the "bottom of the top compartment" in. Then I used the dremel to form the insides a bit and sanded what I could on the inside. Gluing the compartment to the swing-out door, and a small piece for a hinge to the top (actually should be the piece that is cut from the back of the box, but it broke so I made another one), and sanding everyhing a few more times means that I could drill the holes for the hinge pins and set the pins (straightened pieces of a paper clip :-). Then I sand everything again a few times, ending with a 3M finishing cloth, which is about like 600 sand paper, but easier to work with. A light coat of oil goes on in a minute, and is the funnest part of the whole project as you lovingly rub it down every 10 minutes or so for the first hour or two until any oil stops seeping back out of the wood (lest you get little shiny spots). As a finishing touch, there was this little bar magnet on my workbench that I cut into two pieces. I drilled holes in the box for the pieces and put one on the box and one on the swinging door as a latch. 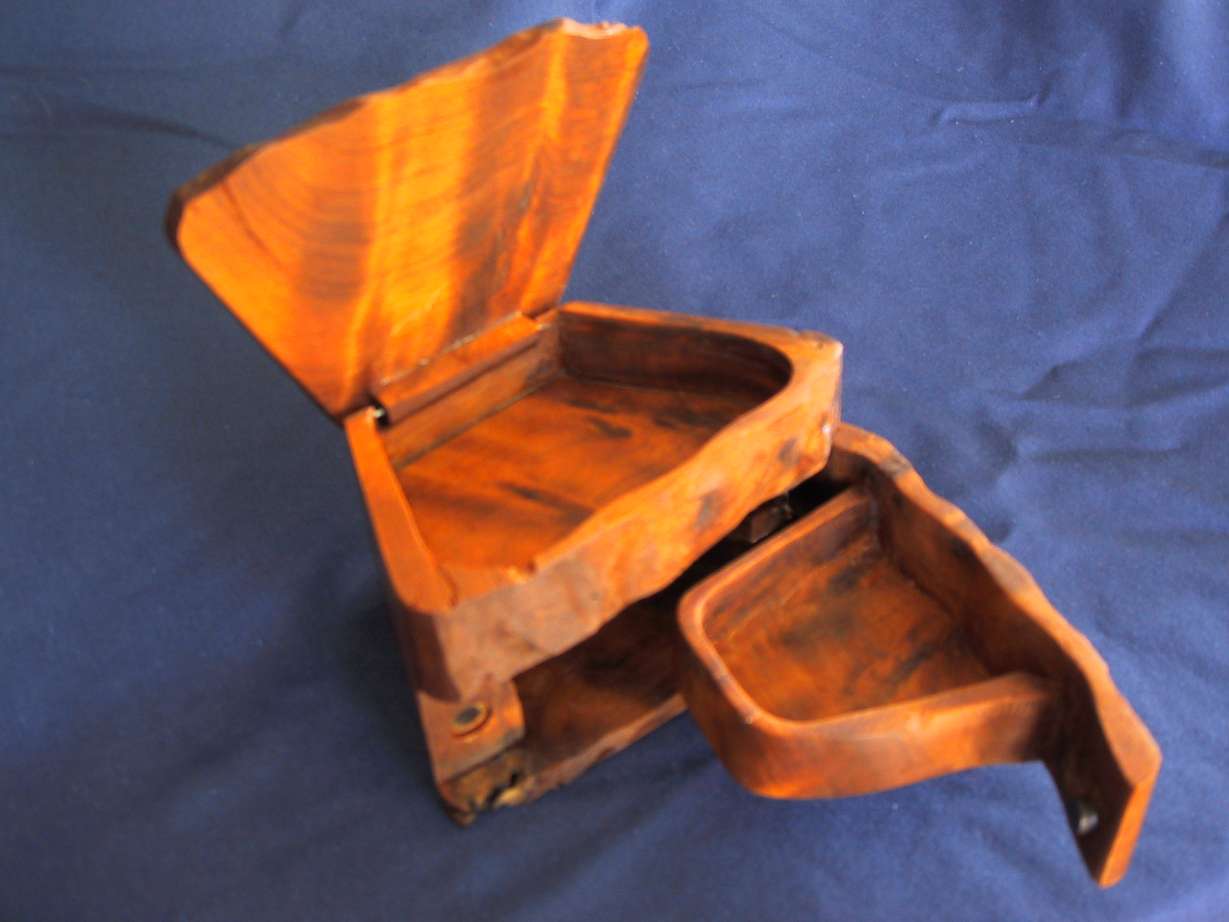
Perhaps the best part of making a box, in the end, is giving it away. Ginny was so moved by the gift that I'm not sure I can describe it. Made with love, given with love, and received with love. It was quite a memorable moment. She was definitely happy, as I was to be able to create and give her this gift. |